Entry 1: Proposal and first CAD
What it should do
A small sinker EDM machine that copies very fine freeform features into metal. The tool electrode is a conductive negative of the feature. It is lowered into the workpiece while thousands of small sparks per second erode the metal, and the electrode shape ends up in the part. The twist: the electrode starts as a resin 3D print. Resin printers resolve features far below what I can mill, so if the print can be made conductive, the machine turns a cheap print into a precise metal cavity. It works in every conductive material, including hardened tool steel, which is hard to machine any other way.
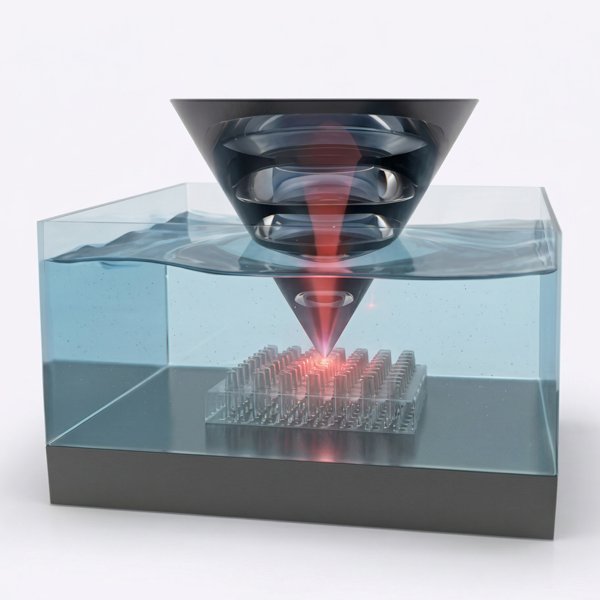 | 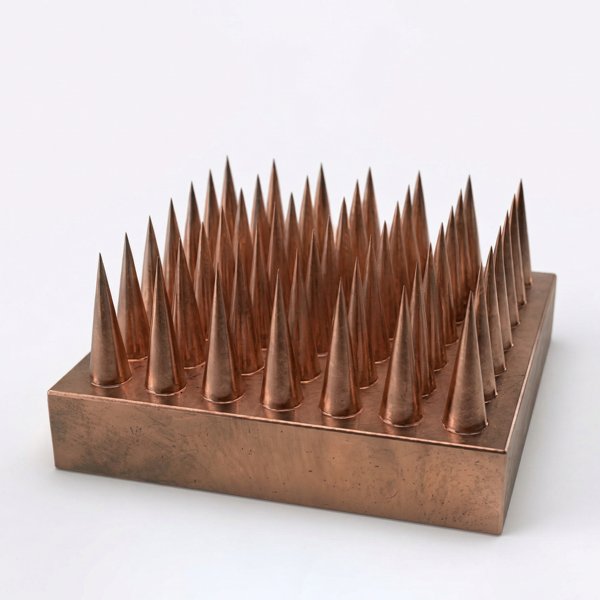 | 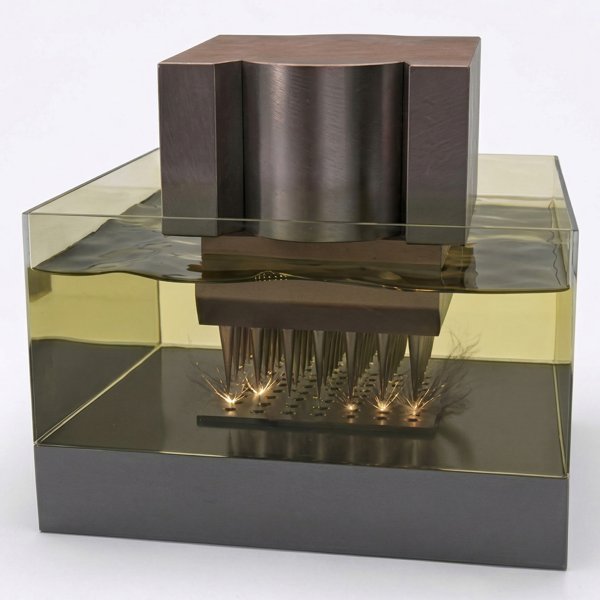 | 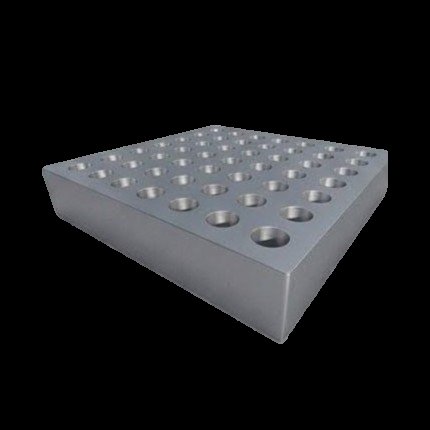 |
| 1. Resin print of the master | 2. Metallized master becomes the electrode | 3. Sinker EDM copies it into metal | 4. Finished tool or part |
The process chain from the week 1 proposal.
Why sinker and not wire EDM
Wire EDM is excellent for 2D profiles and CBA already has a wire EDM machine in the shop. A sinker copies a 3D shape in one move, which is exactly what a printed electrode offers. The machine I need is also much simpler: one precise axis, no wire feed and no wire tensioning.
Who has done what before
- At MIT: Ben Peters built a low cost sinker EDM in MAS.S62 (2012) with a mechanical pencil lead as electrode and a pull solenoid that retracts on every spark. Final notes
- In HTMAA: several students used the CBA wire EDM in wildcard week, for example Noah (2022) and Claire Wang (2025). Claire Wang reports about 0.12 to 0.18 inches (3 to 4.5 mm) per minute of cut length, so machine time is the bottleneck.
- Hobby builds: a plunge EDM from microwave oven and dryer parts on Scorchworks, and Spark erosion: detailed view, simple machinery by Norbert Heinz on hackaday.io.
- Printed electrodes in research: copper plated stereolithography models were tested as EDM electrodes already in 1998. They cut as well as solid copper until the plating wore through (Leu, Yang, Yao, SME MR98-180). Thin copper electroforms on SL masters copy surface detail below 0.1 µm (Rennie, Bocking, Bennett, MATADOR 2000). Related: Yang and Leu, rapid tooling by electroforming and SFF.
What seems new here is putting the whole chain on a desktop: resin print, plating and a small micro EDM machine, all in one lab.
First CAD
CAD of the machine, drag to rotate, scroll to zoom.
- Base: an optical breadboard, so everything can be bolted on a grid and moved around.
- Workpiece stage: a manual XY stage with micrometers to position the part under the electrode.
- Column and Z axis: a stiff vertical column carrying a motorized linear stage. This is the axis that holds the spark gap.
- Electrode holder: clamps the electrode and carries the electrical connection.
- Tank: a transparent tank with the dielectric around the workpiece.
Subsystems and where they fit in the class
| Subsystem | What it is | Class week |
|---|---|---|
| Electrode masters | resin printed negatives | 3D scanning and printing (9/30) |
| Spark generator | RC or transistor pulse circuit on my own PCB | electronics design and production (10/7, 10/14) |
| Frame parts | base, column, brackets | computer controlled machining (10/21) |
| Gap sensing | measure gap voltage, detect shorts | input devices (10/28) |
| Z drive | stepper and driver for the Z stage | output devices (11/4) |
| Electrode plating | copper plating or electroforming of prints | wildcard week, molding and casting (11/11) |
| Mechanics | stiff Z axis, electrode holder | mechanical and machine design (11/18) |
| Interface | set parameters, follow a job, show the waveform | networking, interface and application programming (11/25) |
| Integration | tank, flushing, wiring, enclosure | system integration (12/2) |
Plan in spirals
- Spiral 1, first sparks: hand fed copper wire against a steel plate, RC generator on a breadboard, dielectric in a dish. Goal: see craters under the microscope and measure one discharge on the oscilloscope.
- Spiral 2, closed loop: motorized Z axis with gap voltage feedback, solid copper or graphite electrode, simple round cavity.
- Spiral 3, printed electrode: plated resin print as electrode, first freeform cavity.
- Spiral 4, finish: my own PCB for generator and control, interface, enclosure, documentation.
Spiral 2 is the minimum that counts as a working machine. Everything after is improvement.
Answers to the class questions so far
- What does it do? Copies fine freeform features from a resin print into metal by sinker EDM.
- Who has done what before? See above.
- What sources did I use? The papers and projects linked above.
- What will I design? Z axis mechanics, electrode holder, tank, spark generator and control PCB, firmware, interface.
- Materials and components, where from, cost? Open, to be listed.
- What parts and systems will be made? All of the above, buying only the linear stage, motor and electronic components.
- Tools and processes? Resin printing, CNC machining, laser cutting, PCB milling, electroplating, EDM itself.
- Questions to answer? Can a desktop machine hold a micrometre gap? Does a plated print survive long enough to make a useful cavity?
- How will it be evaluated? Feature fidelity under the microscope against the CAD, surface roughness, electrode wear, material removal rate.
- What worked, what did not, implications? Open until December.
AI use
Grammar check of the text with Claude Opus 5.5. The literature and prior work I searched and read myself.