Entry 2: Machine setup and spark generator
The machine so far
For the mechanics I use parts I already have. A Zaber linear stage (LRM025A) sits on a Thorlabs angle bracket and moves the electrode holder up and down. The workpiece is in a small acrylic tank, and a camera with a lens looks into the gap so I can see what happens.
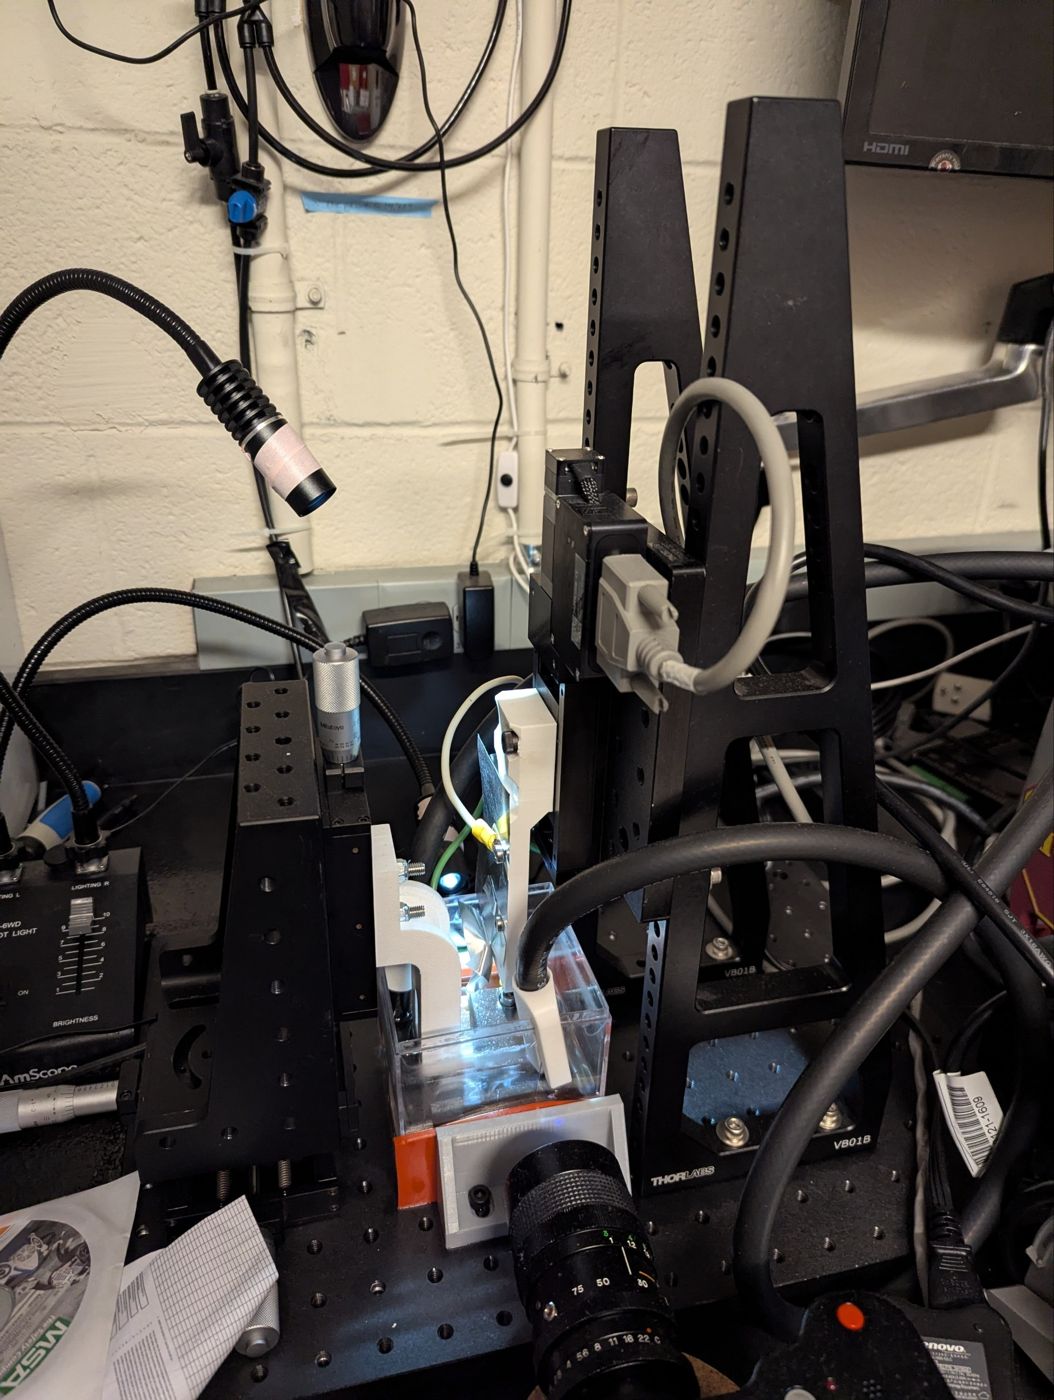
Linear stage, electrode holder, tank and camera.
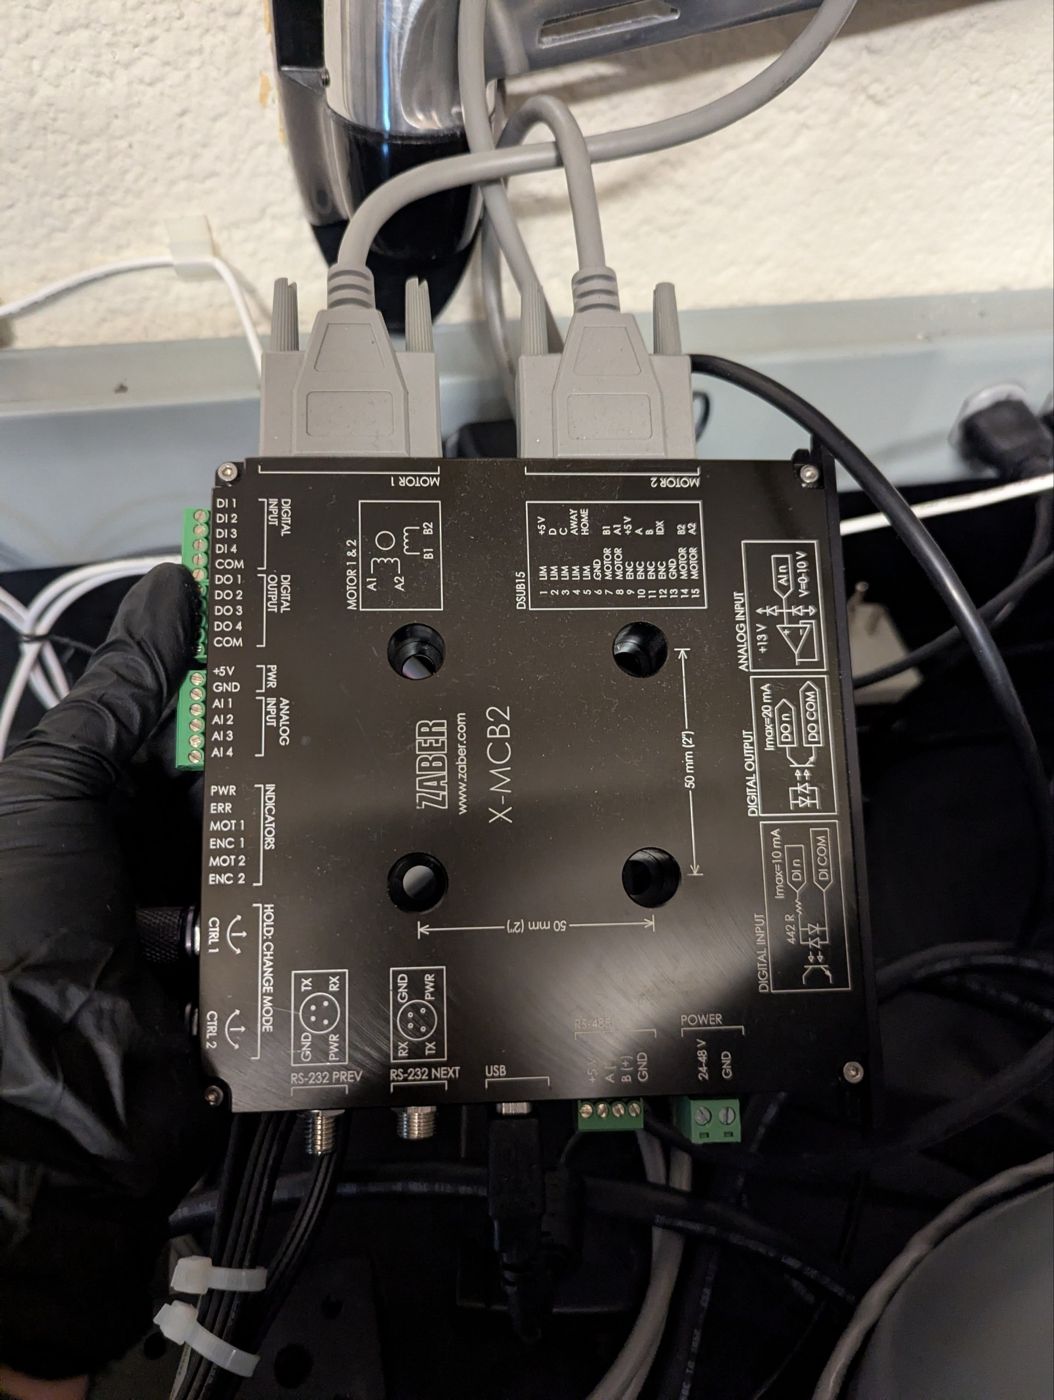
The stage is driven by a Zaber X-MCB2 controller. Sparky only sends the commands over RS-232, the controller does the motion itself.
Dielectric and pump
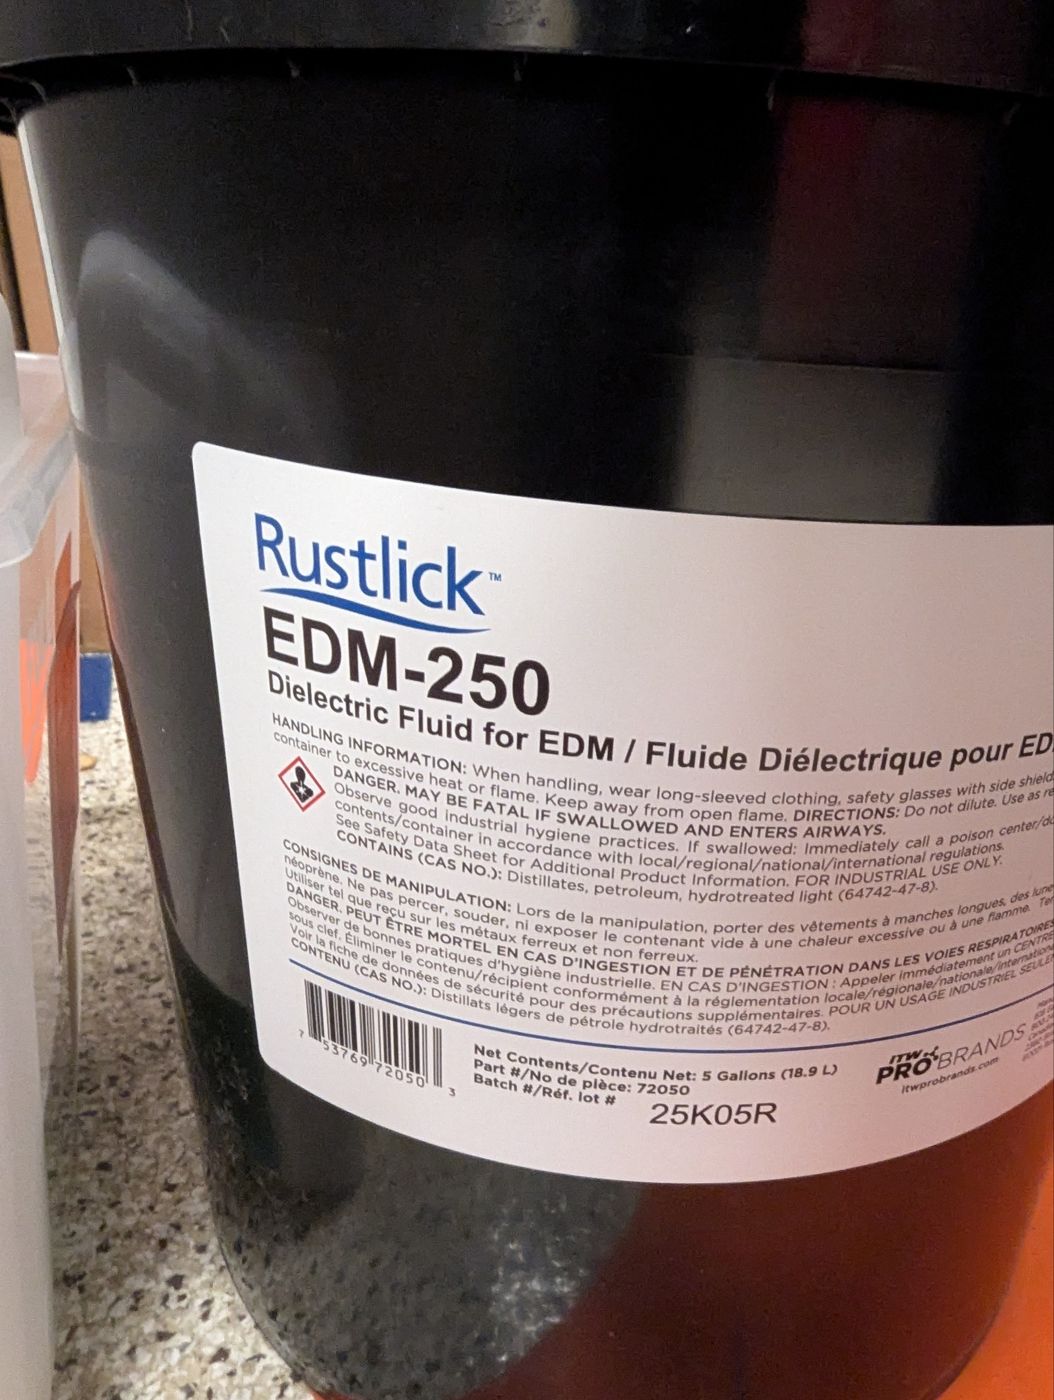
As dielectric I use Rustlick EDM-250, a dielectric fluid for EDM made from hydrotreated light petroleum distillates. A 12 V pump with an inline filter sits in a bucket and keeps the fluid moving through the tank, so the debris gets flushed out of the gap. The pump is switched by Sparky.
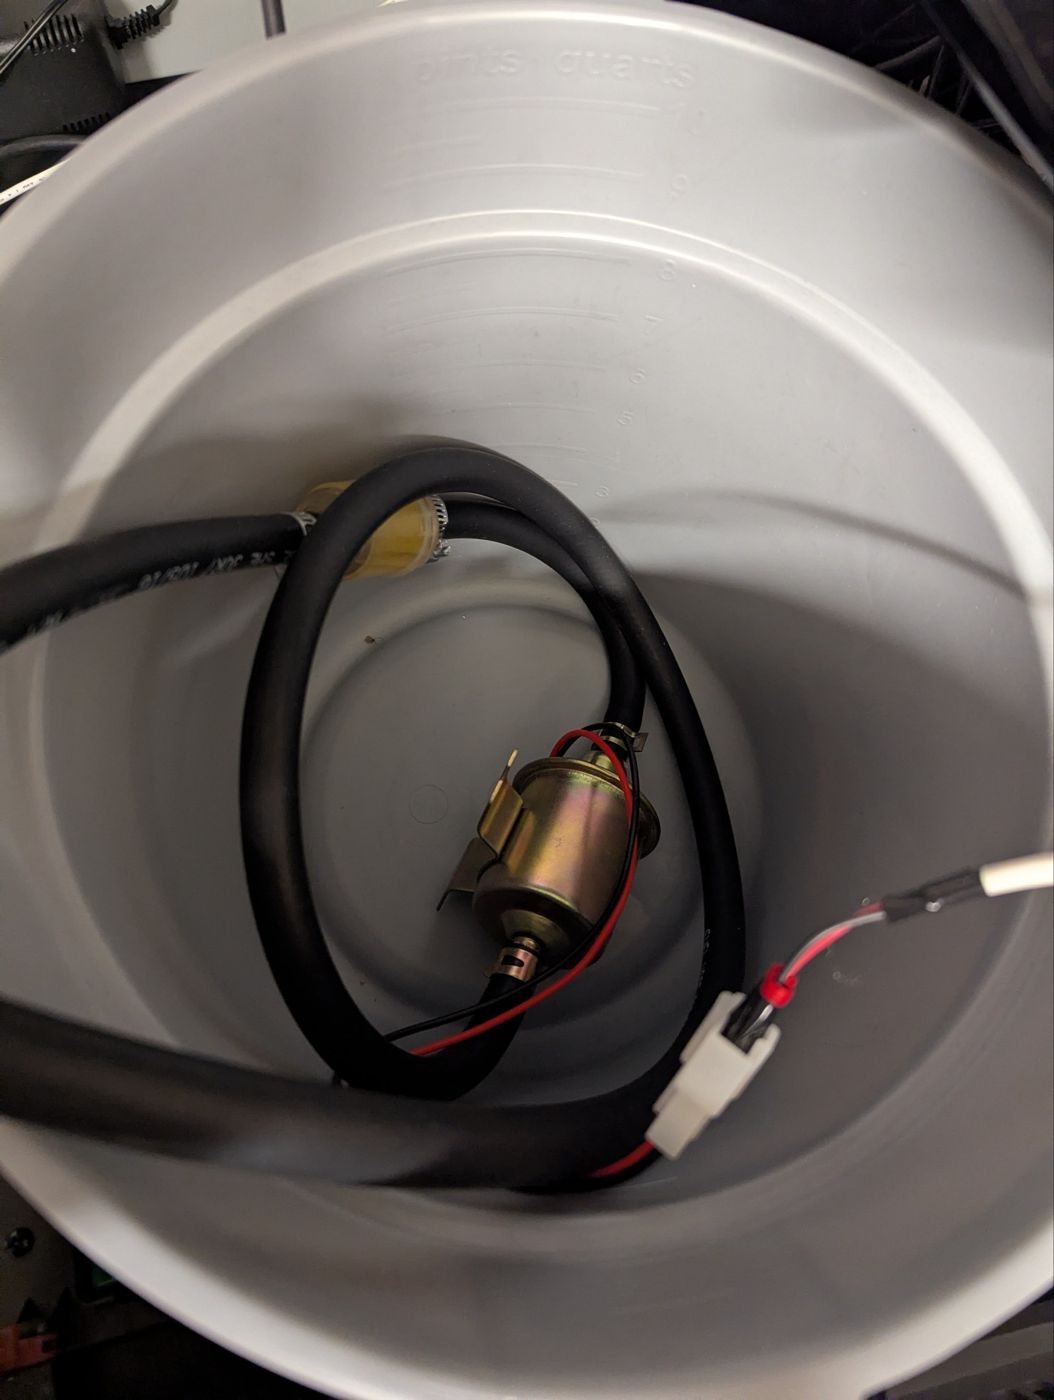
Pump and filter in the bucket.
Spark generator
The spark generator board Sparky is now at version 1.3 and ready to be produced and assembled by JLCPCB. The details are in week 6.
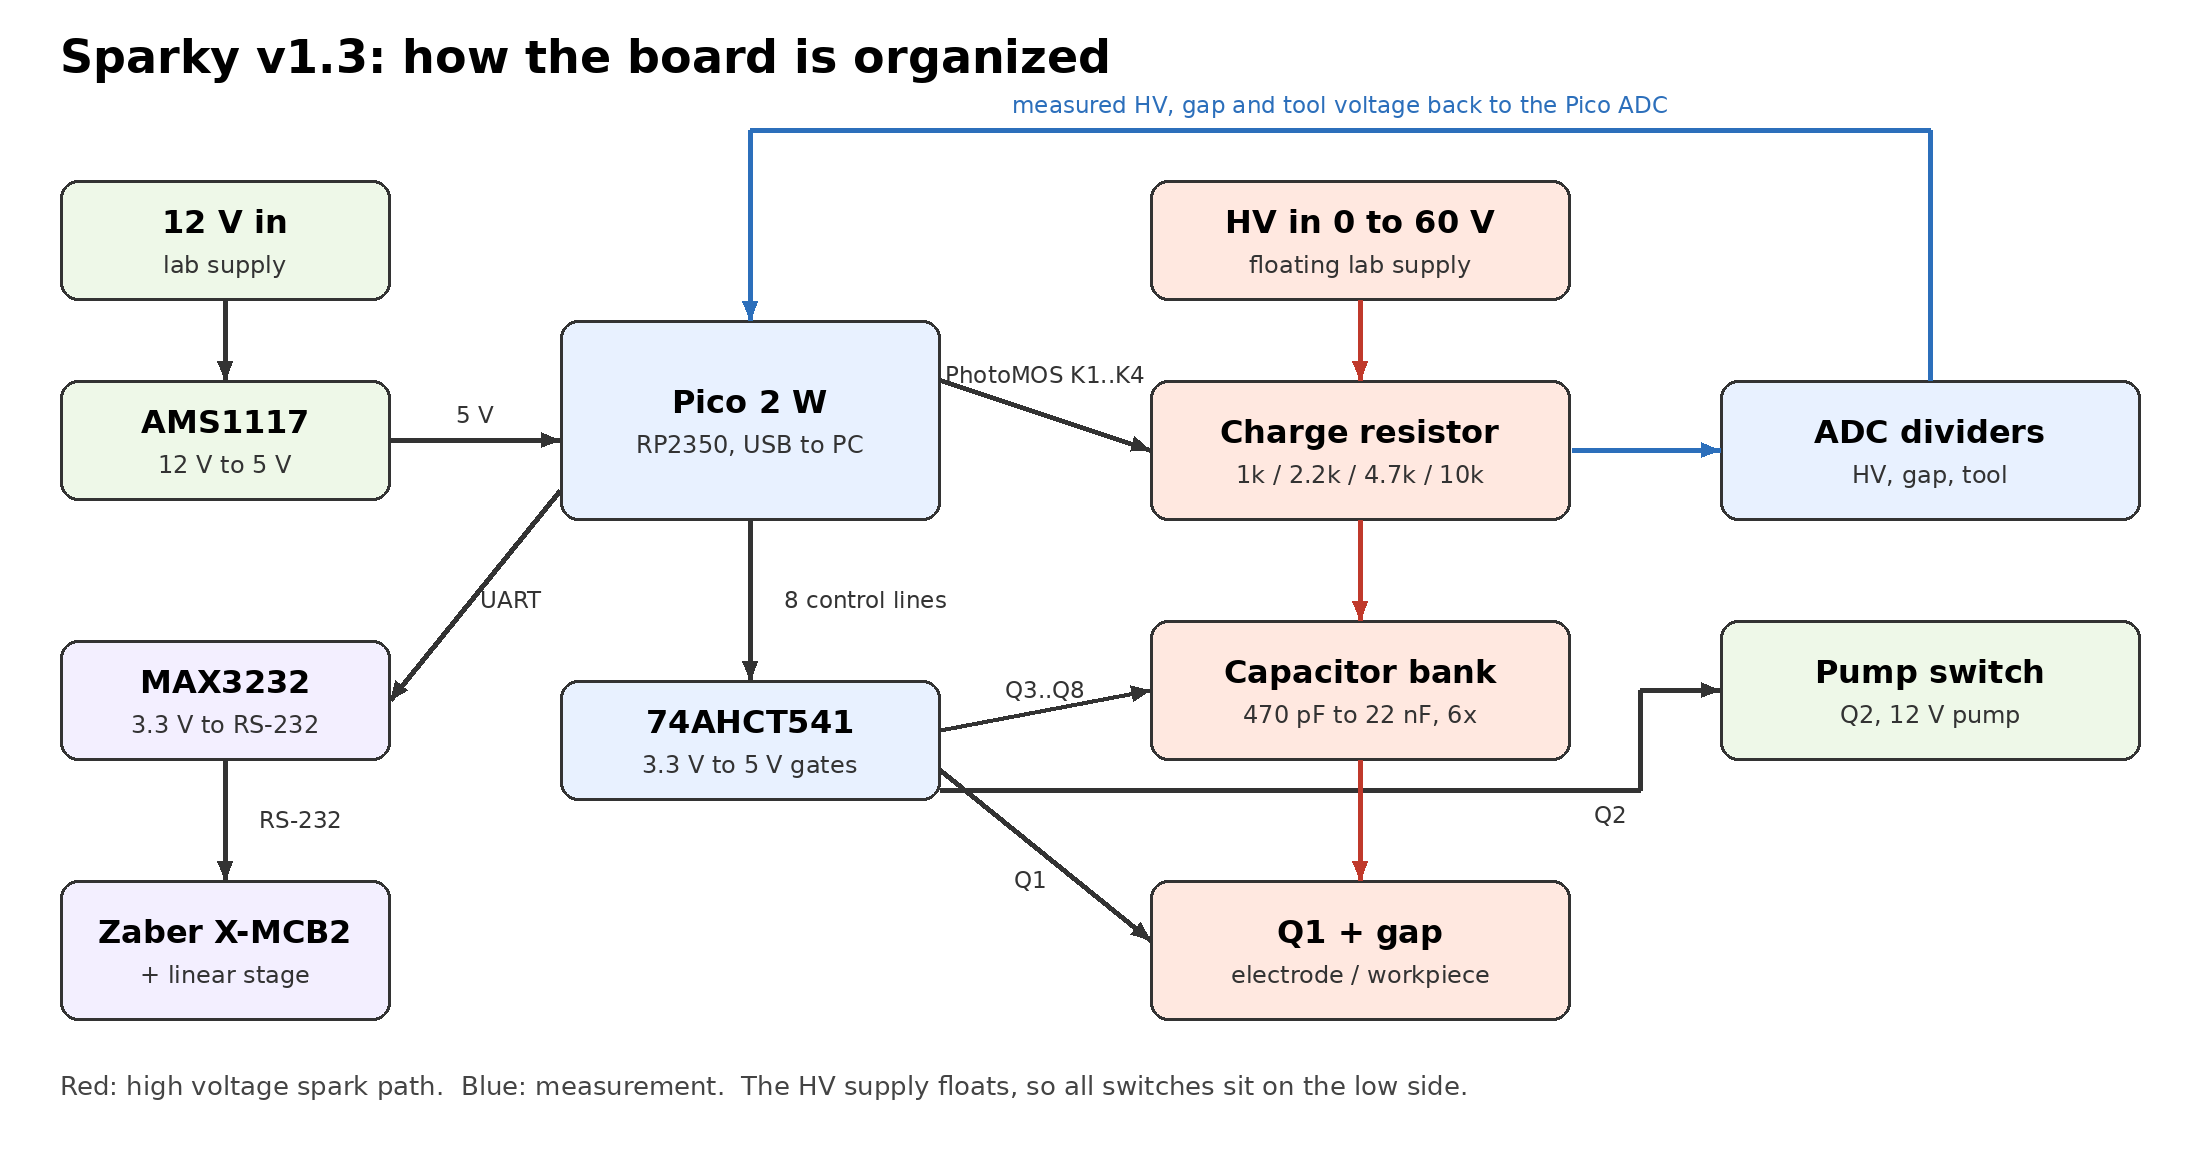
Before I order it I want to test the different blocks one after the other with milled boards. The first block is the RS-232 connection to the Zaber, which I test with a small XIAO board. When this works, I will mill and test the spark part (charge resistors, capacitor bank and Q1), first with a low voltage, and then order Sparky at JLCPCB.
AI use
Grammar check and text draft with Claude Opus 5.5. The setup is my own.