About
Work in progress!
whoami
I’m Benson Lin (pronouns: he/they/bnuuy), an MIT ‘27 from Singapore majoring in 6-3 Computer Science and Engineering.
In a previous life (i.e. high school) I did mathematics and informatics olympiads. I did a lot of task-setting for computer science olympiad competitions and helped to run trainings for Singapore’s Informatics olympiad scene.
At MIT I’m part of the MIT Spinning Arts Club, where I perform in flow arts performances with fire and with LED props. I also am a makerspace mentor at Metropolis, an open makerspace at MIT, where I run open hours and teach the Digital Fabrication training about 3D printing and laser cutting. I also set puzzles with MIT Puzzle Club.
Academically I work on software performance engineering and computer architecture. In my free time, I work on a wide variety of maker projects, many of which are listed below. Most of them focus on 3D printing, but also include a wide variety of maker skills such as laser cutting, sewing, electronics, thermoforming etc.
Making Chornology
2023
2024
MIT Museum Map
In Spring 2024, I took 2.00 Introduction to Design. My team’s final project for that class was a large form map of MIT’s campus. The frame was made of plywood and the map was laser-engraved acrylic covered in a thin layer of paint.
Under the acrylic was a long LED strip that lit up specific areas of campus. This was connected to an Arduino Uno that pulls its inputs from large arcade buttons placed on the outside of the map.
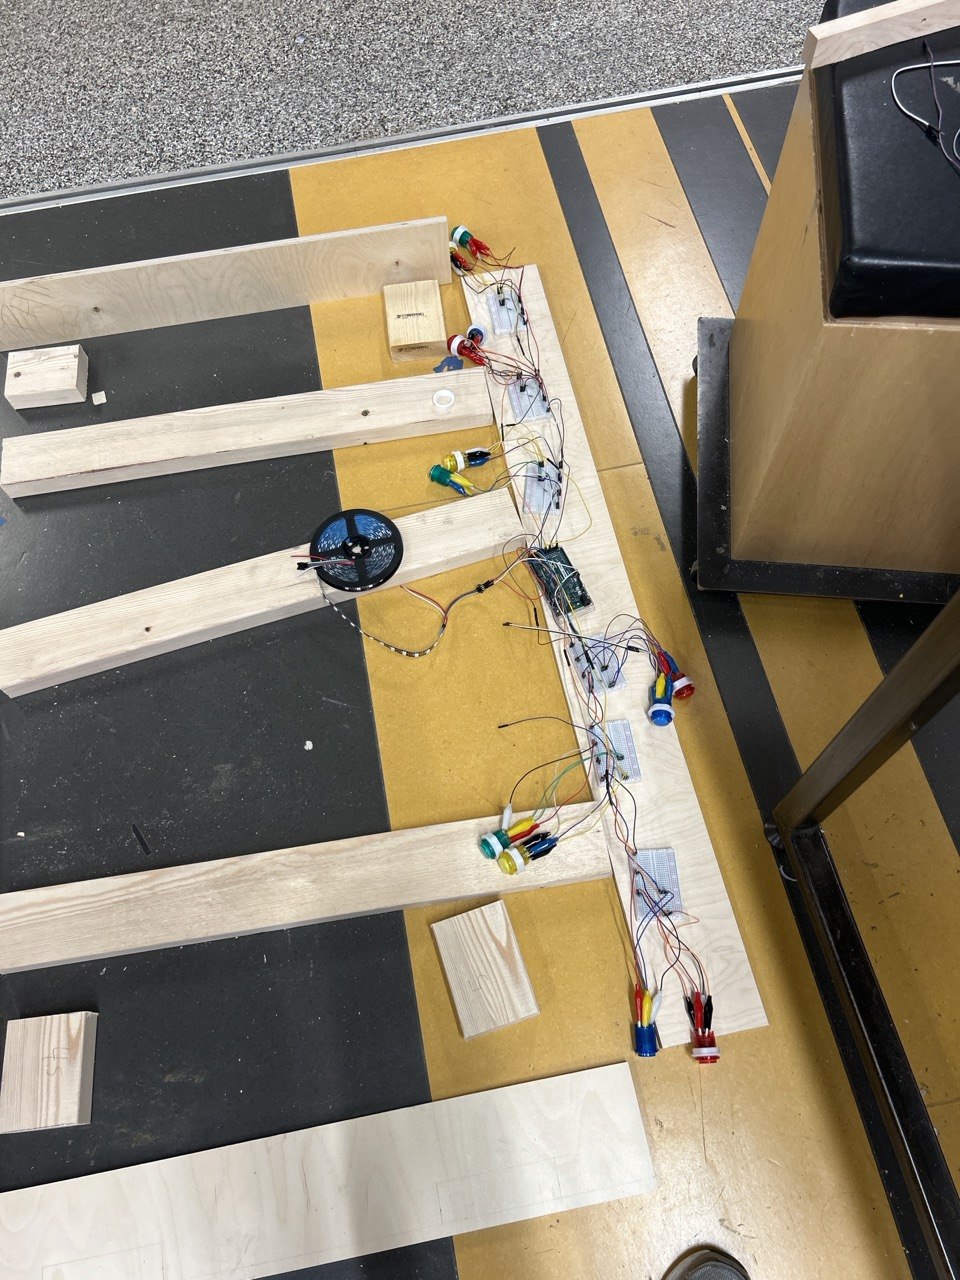
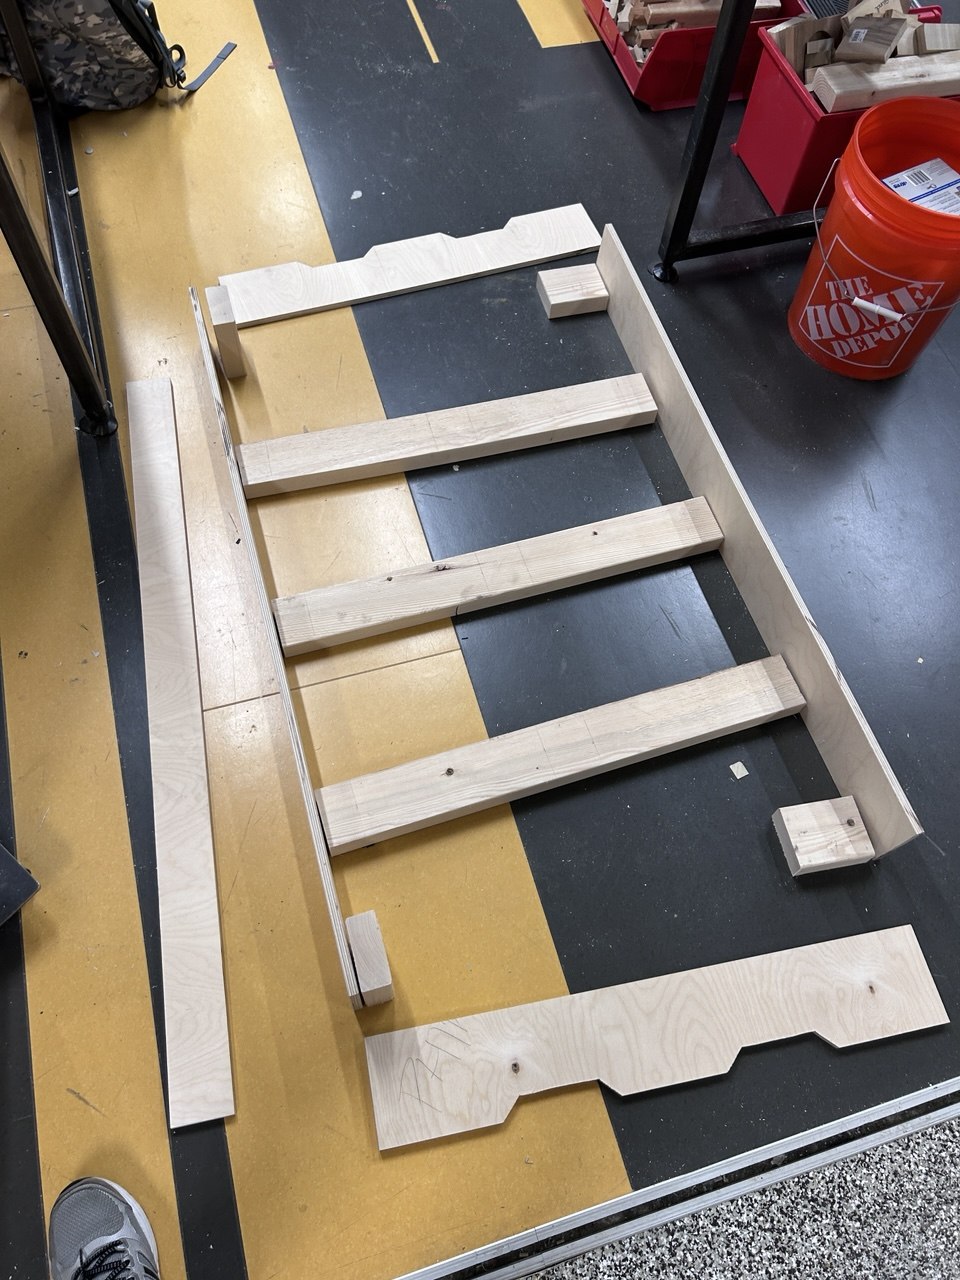
Pressing different buttons will light up different sections of the map.
When idle, the lab will flash random lights all across campus. Here you can also see the ungodly amount of tape needed to hold the LED strip in place.
My TA was Sam Ihns, who himself is a wonderful maker too.
Wizard Staff Prop
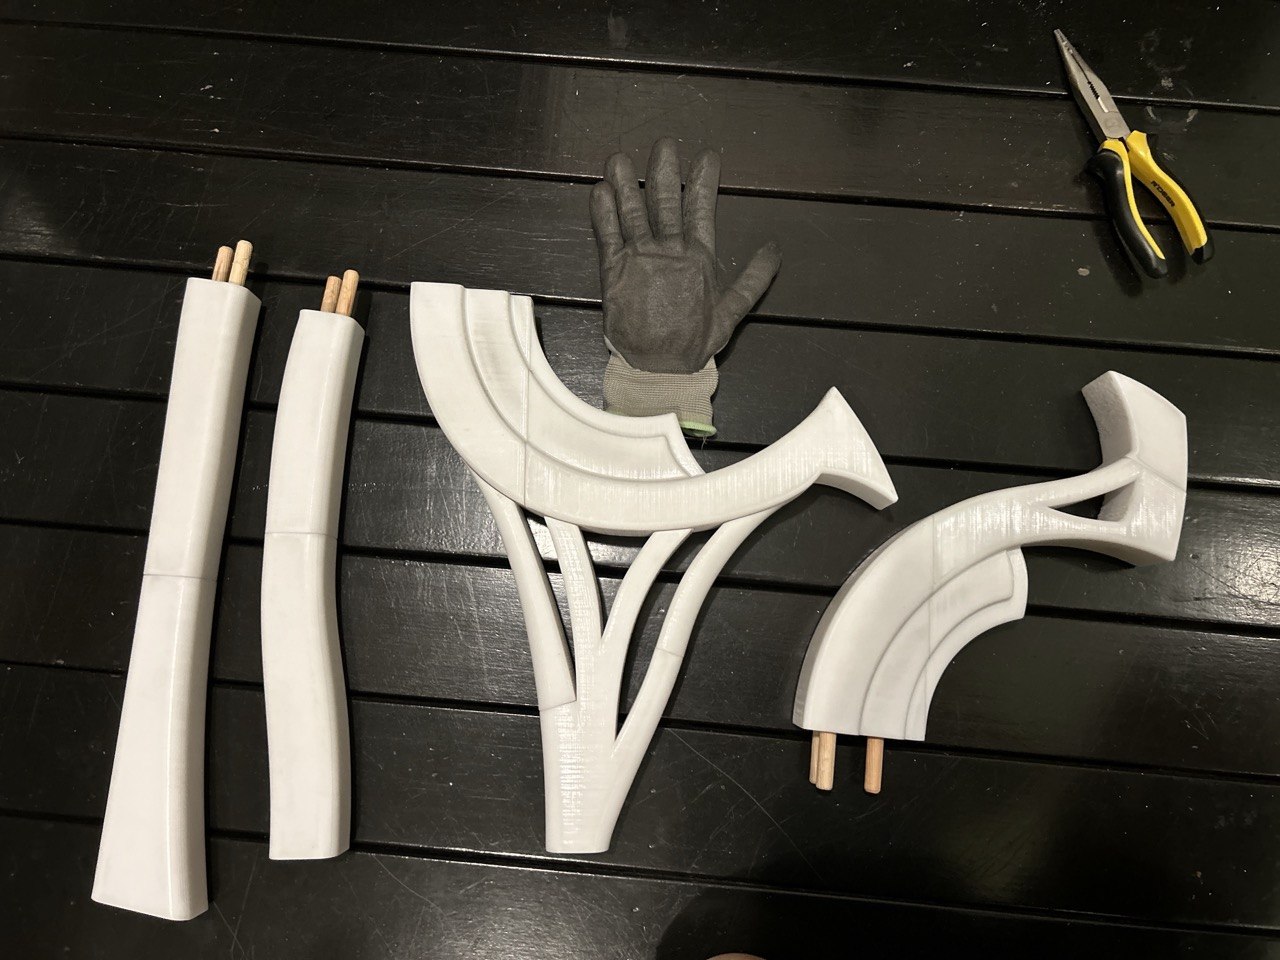
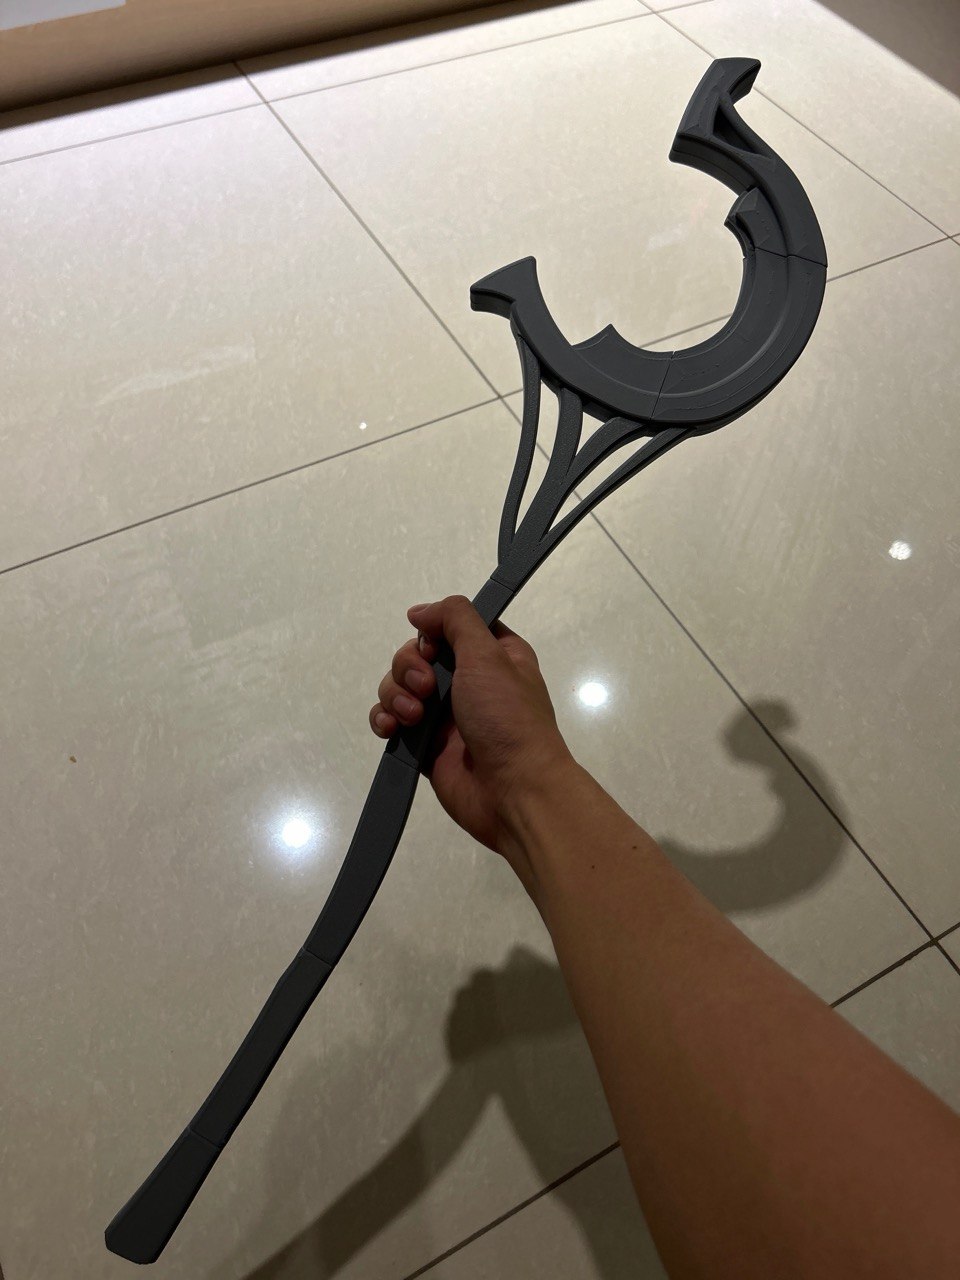
This was a prop made for a furry friend of mine in Singapore. His character has a big wizard staff which I wanted to try building for him to use for cosplay. Since the staff was too big to fit on the Bambu Lab A1 my brother had at home (it’s about a metre in length), it had to be segmented into 6 parts and connected by wooden dowels.
Protofacer
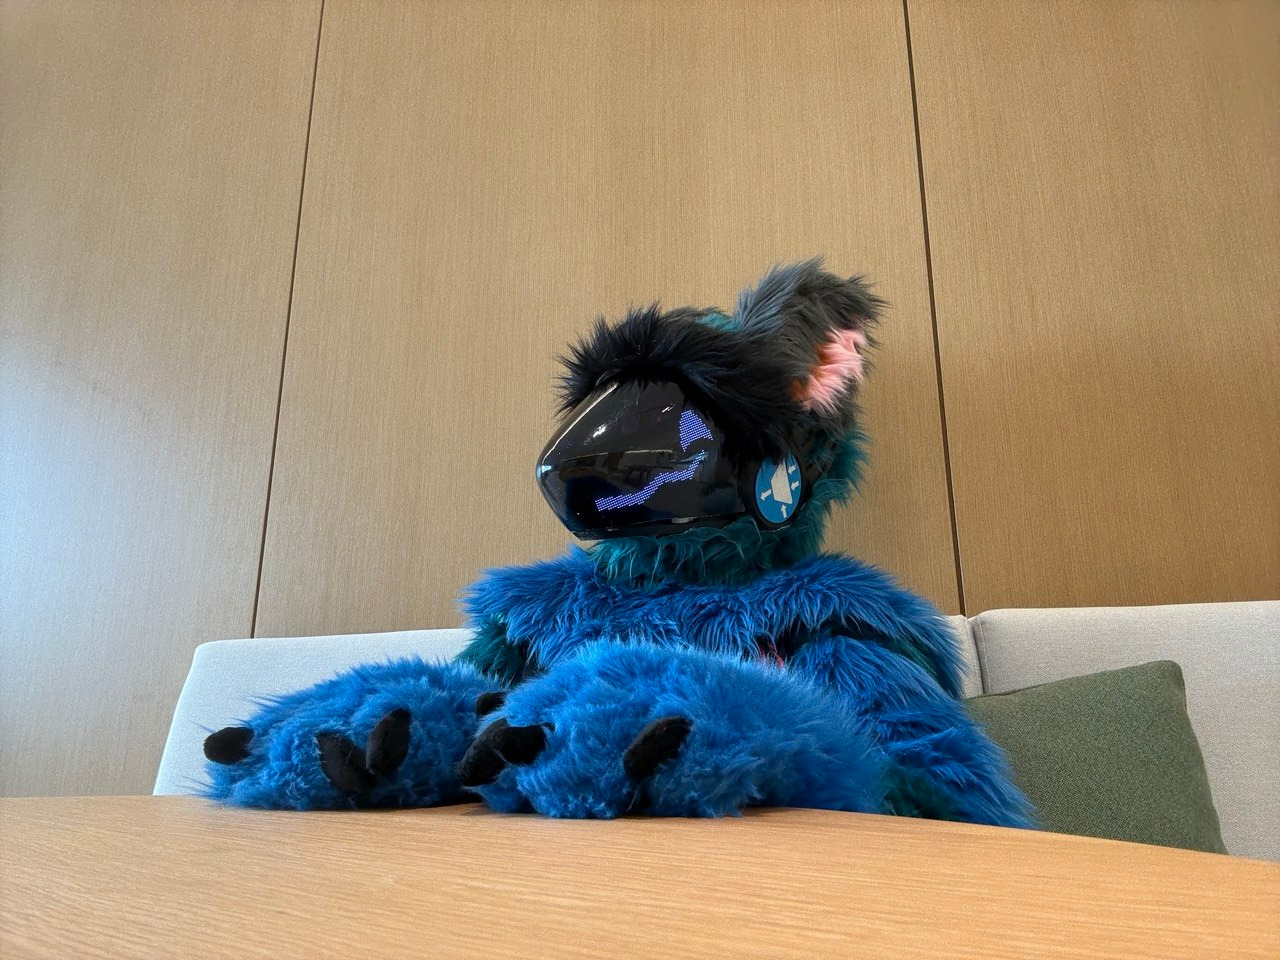
By far the biggest project I had of 2024 is the Protofacer. This was my final project for MIT’s FPGA class (6.2050 Digital Systems Laboratory). More details about the project can be found in the final project report and the video summary.
The goal was to make a protogen fursuit where the main controller is an FPGA. The model is the Coelacant Sigma Protogen.
There are quite a large number of techniques needed to make this project, so I’ll go through them one by one
The frame was printed in PETG and held together by a large number of M3 screws. Most of it was printed using the Prusa MK4 in Metropolis.
The fur used was shaggy faux fur from BigZ Fabric, and the ears had EVA foam as its rigid backing. I used duct tape to get the contour of the head, frame and my shoulders before cutting the fur pattern, sewing everything togehter and hot-gluing the fur to the PETG.
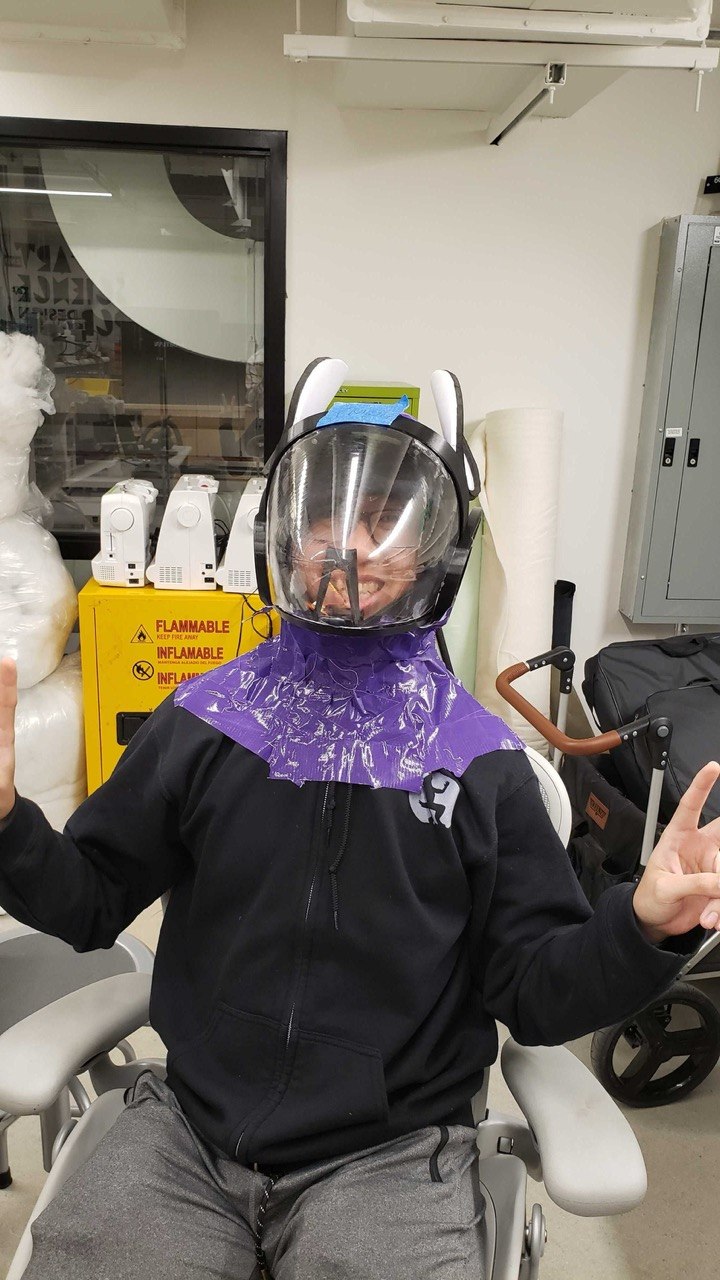
Wearing the bare head with duct tape The visor was thermoformed out of 1/32" PETG sheets using a PETG visor buck and the MIT Arch Shop thermoformer (thanks to Shah for helping me use it).
I used the CMOD A7-35T board from Digilent as the main controller.
The LED panels are 32-by-64 P2.5mm HUB75 panels from Waveshare.
Here is a video of me testing the camera functionality while wearing the fursuit (featuring a cameo of Lee Zamir who is one of the staff members that runs Metropolis).
I also ended up making sleeves and paws, using RunnerRabbit’s tutorial as a guide.
2025
The Turtle and the Hare
Holden was one of the first friends I made in the US all the way back in 2019. He graduated MIT in 2025, and I wanted to make a gift for him for his graduation. He likes turtles and I like rabbits, so I wanted to make some sort of joke around the tortoise and the hare story.
I built somewhat large ornament using laser cut wood and acrylic as the frame, an LED strip running under a bunch of 3D printed rabbits and turtles, and some small buttons to control the patterns being displayed on the LEDs.
Recirculating Aquarium
MIT Puzzle Club runs a puzzle hunt during MIT’s orientation. I wanted to make a puzzle with a physical object involved, so I designed a model by taking a 6-by-6-by-6 cube and removing some of the subcube. Here is the final model used for the puzzlehunt.
The accompanying puzzle sheet can be found on the MIT Puzzle Club website at this link.
to be continued
2026
BAPHL Puzzle Cube
For the 2026 edition of the Boston Area Puzzle Hunt League, I worked with Becca Chang to construct Wormholes. This was another logic puzzle with a physical object.
to be continued
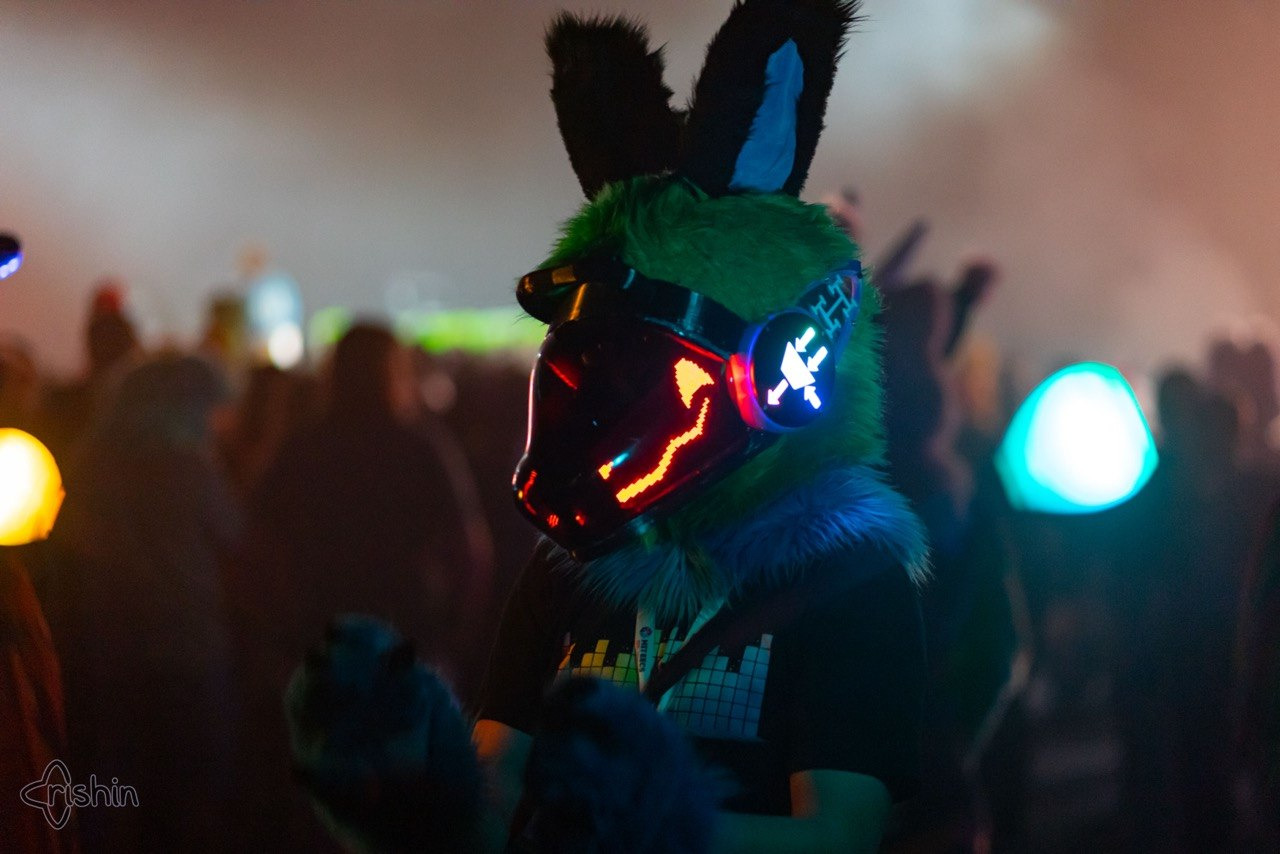
Protogen V2
After fursuiting with my first protogen fursuit for one and a half years, I got fed up with some of the inconveniences of the suit. For example
- The visor was very flimsy and not well connected to the rest of the fursuit head. It was connected to the head with three sets of magnets (not enough to hold it stably). The visor was made from 1/32" PETG, which when thermoformed becomes noticably thinner and more fragile.
- I had a cable with a USB-A connector sticking out of the neck that I used to provide power to the electronics. This had to be connected to a power bank in order to power the suit, which limited my mobility and meant there was an extra component that could get caught or damaged during use. I wanted to put the power supply for the fursuit head in the head itself.
- My arms tired out easily from carry the fursuit head around from the bottom. I was basically carrying the head like a baby as long as I’m not wearing the head. I also had no hands-free method of carrying the head in case I need to hold other objects.
After my junior spring semester, I had about 2 weeks of free time before I had to fly to California for the summer. I thus started a 2-week long marathon to design and build another fursuit head.
To fix the above 3 problems, I came up with the following modifications
- I formed the visor out of a thicker 1/16" PETG sheet, which was more rigid and less likely to deform. I also switched the base model to the b0xcat protogen which had significantly more space for magnets to hold the visor in place.
- I CADed two power bank holders in the ears of the fursuit head with holes into the head for power cables. One of those power banks is for the ventilation fans, and the other is for the LEDs and microcontrollers. This would make the head heavier but remove the need for external power cables.
- I added a carry handle to the top of the fursuit head. This had a thinner section near the middle in order to accomodate the attachment of a caribiner. In hindsight I should have made the carry handle removable (by say adding several large screws and heatset inserts).
to be continued