Recently, I've been enamoured with Anicka Yi's work connecting machinery with biology
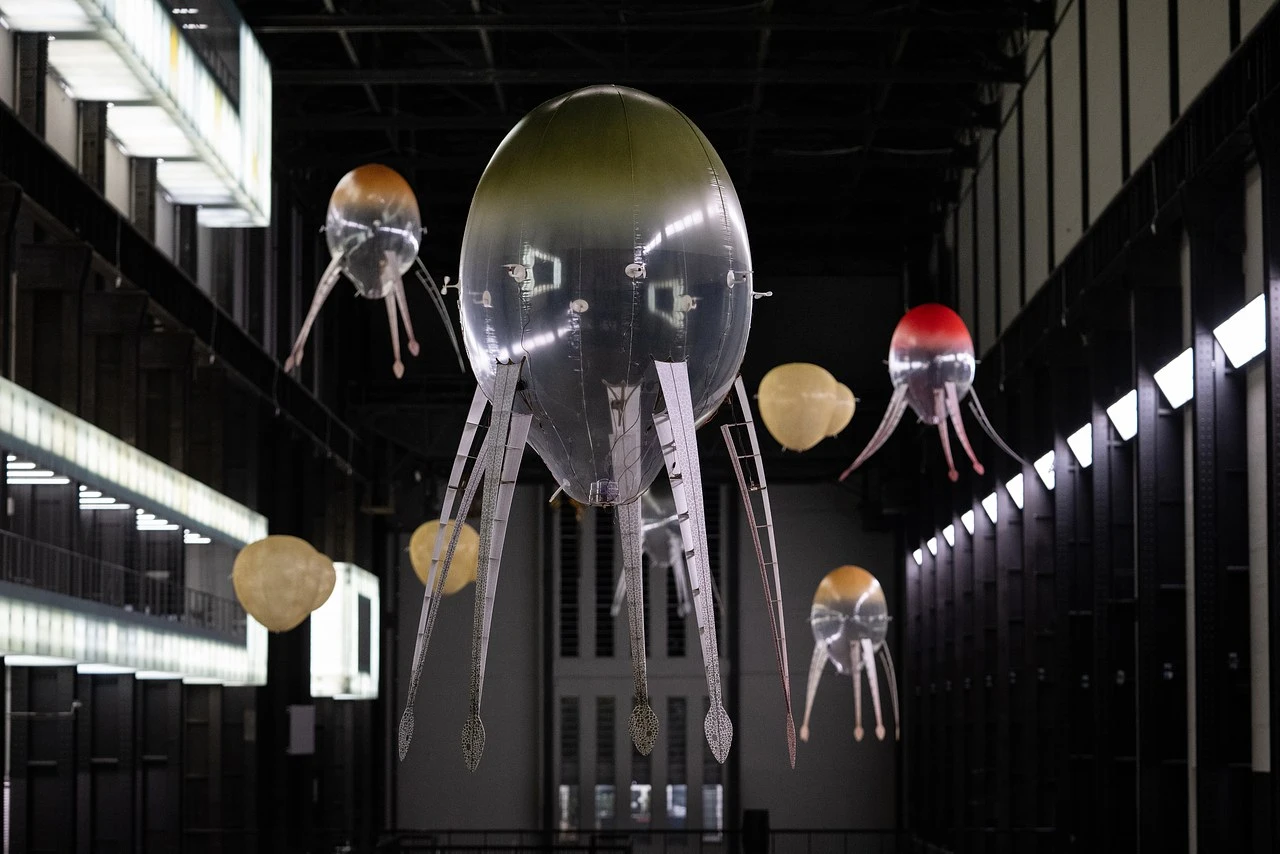 and Sky Macklay's Harmonitrees, inflatable "trees" with harmonica reeds that play beautiful, (somewhat eery) chords.
.
In registering for this class, I was very interested in the idea of building an instrument that was also
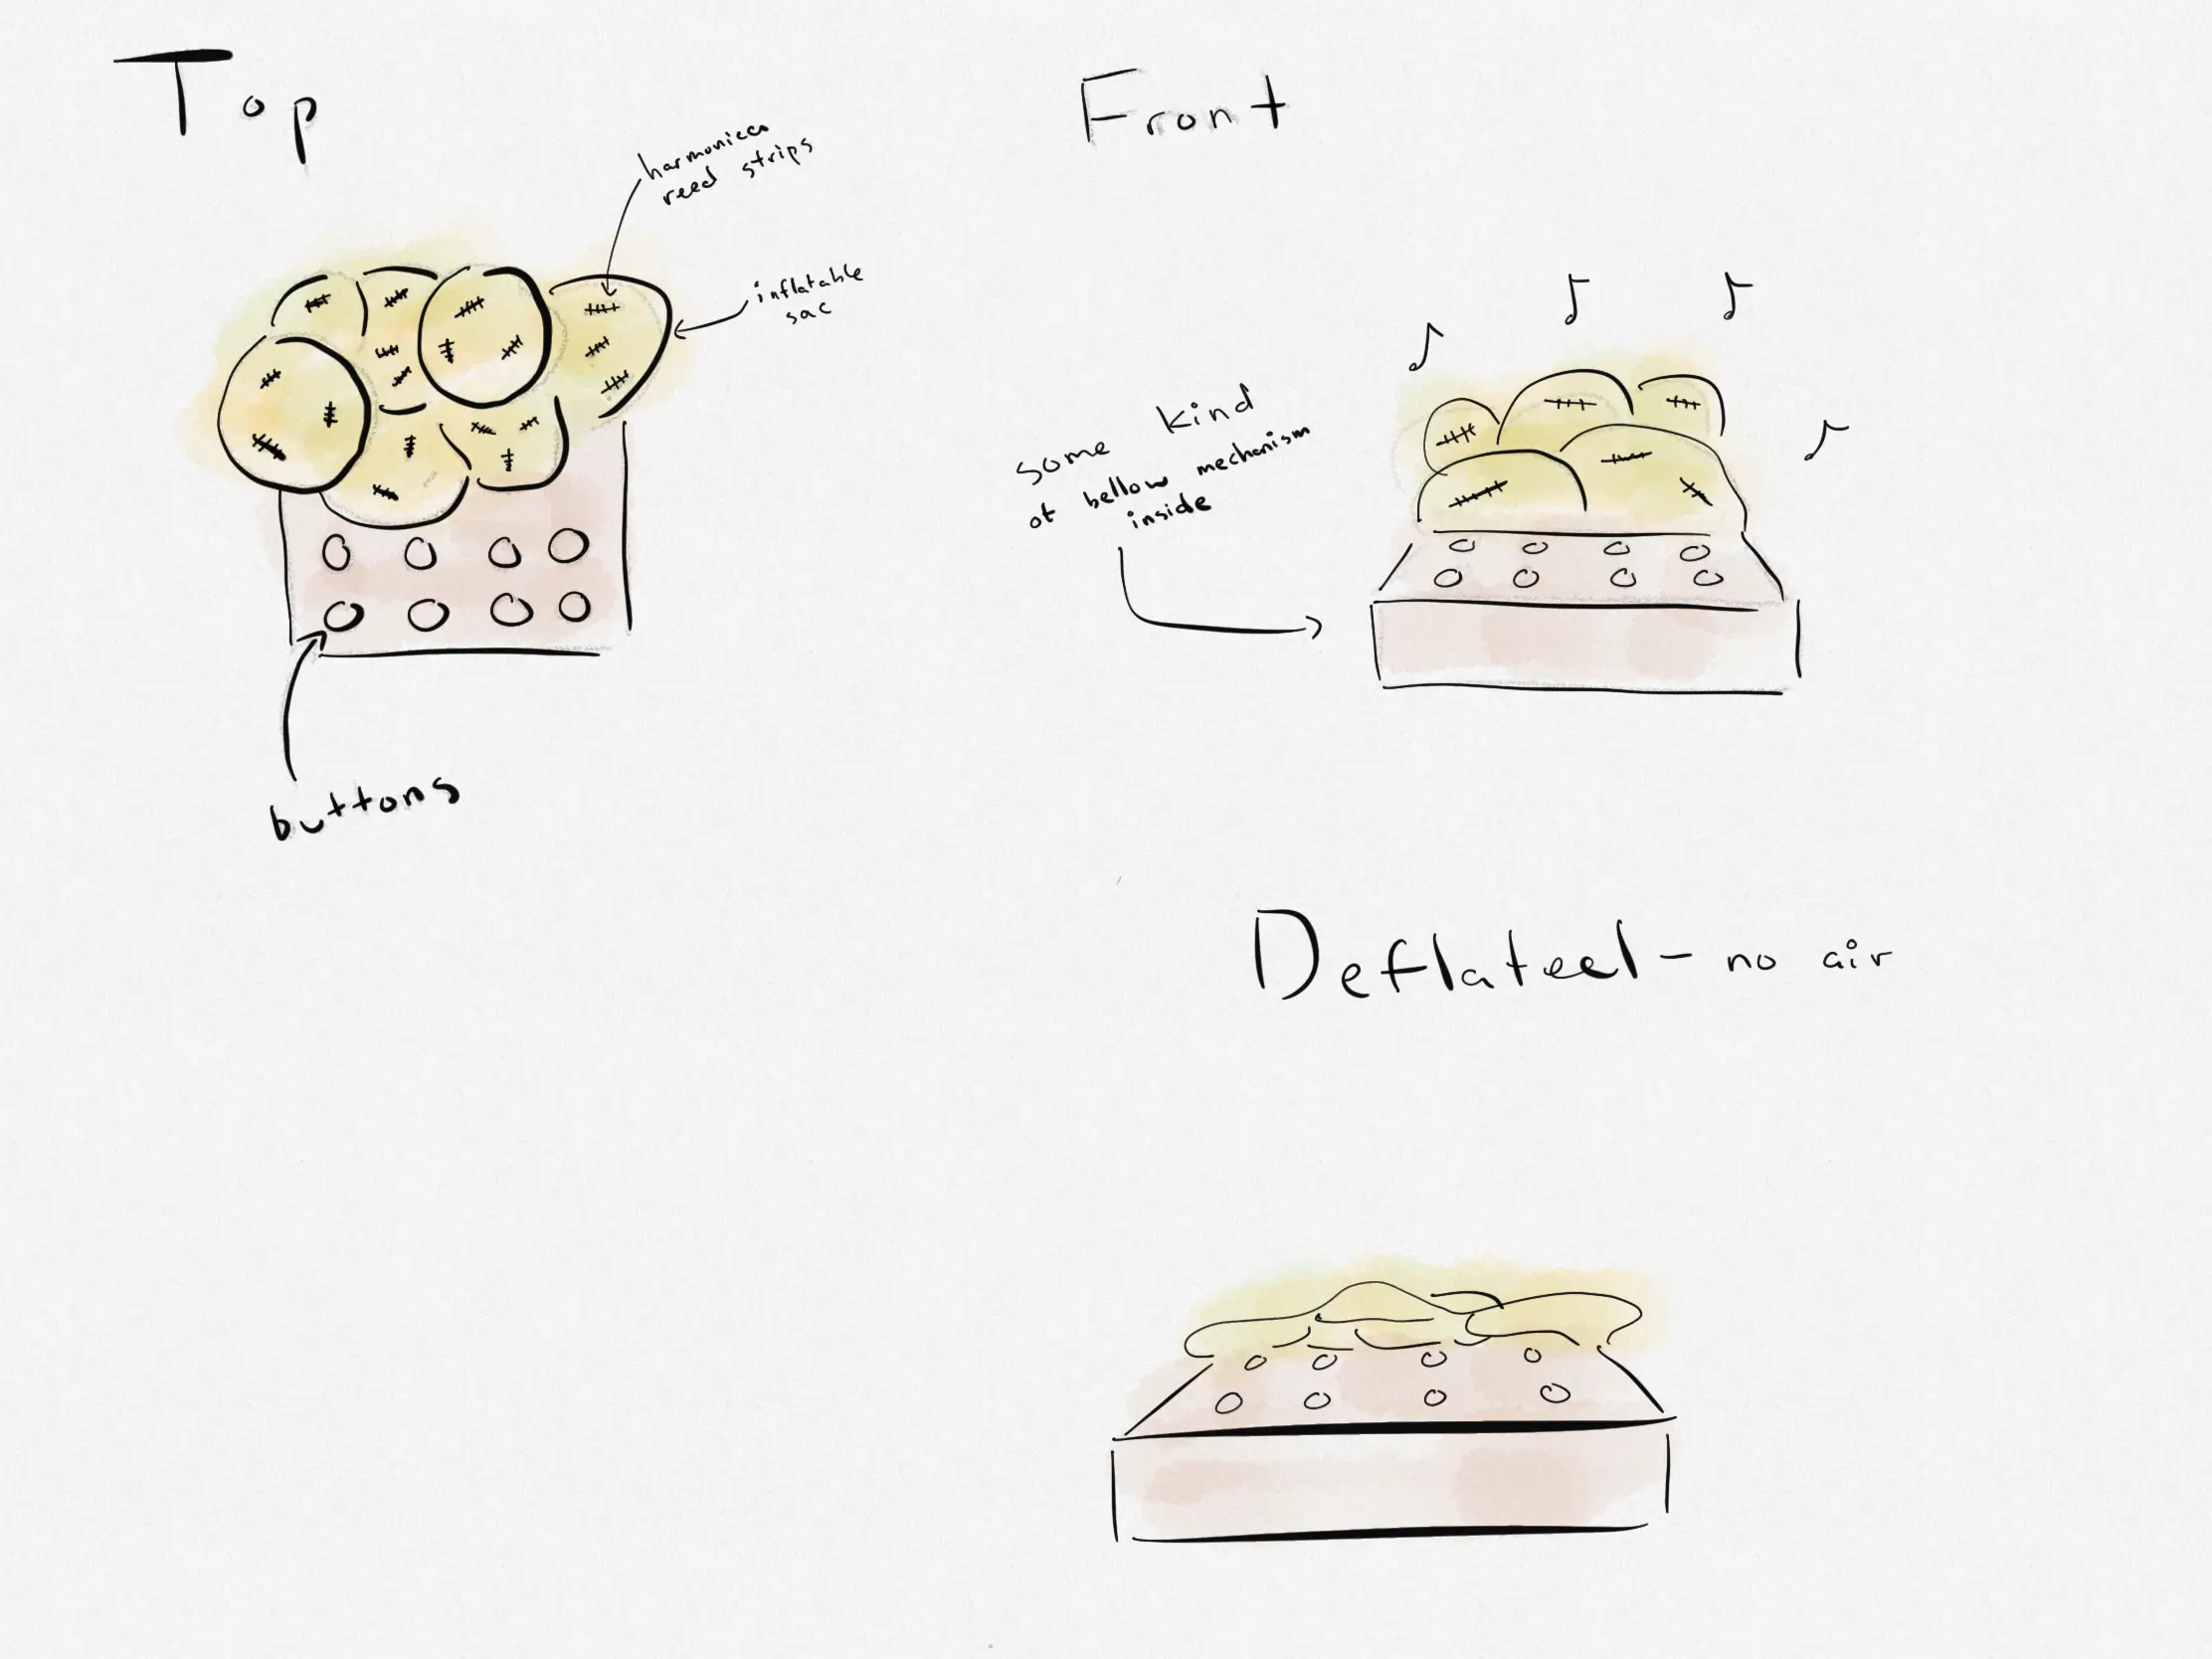
aethetically interesting. I was thinking a lot about the double-meaning of the word "organ", referring to the instrument as well as the parts of our body,
and how an organ "breathes" with its bellows.
Recently, I've been enamoured with Anicka Yi's work connecting machinery with biology
and Sky Macklay's Harmonitrees, inflatable "trees" with harmonica reeds that play beautiful, (somewhat eery) chords.
.
Here are some sketches and renders from Week 0
In week 3, I have managed to make my first thing that makes a sound. A 3D printed double-barrelled whistle. Perhaps this can become part of my final project...
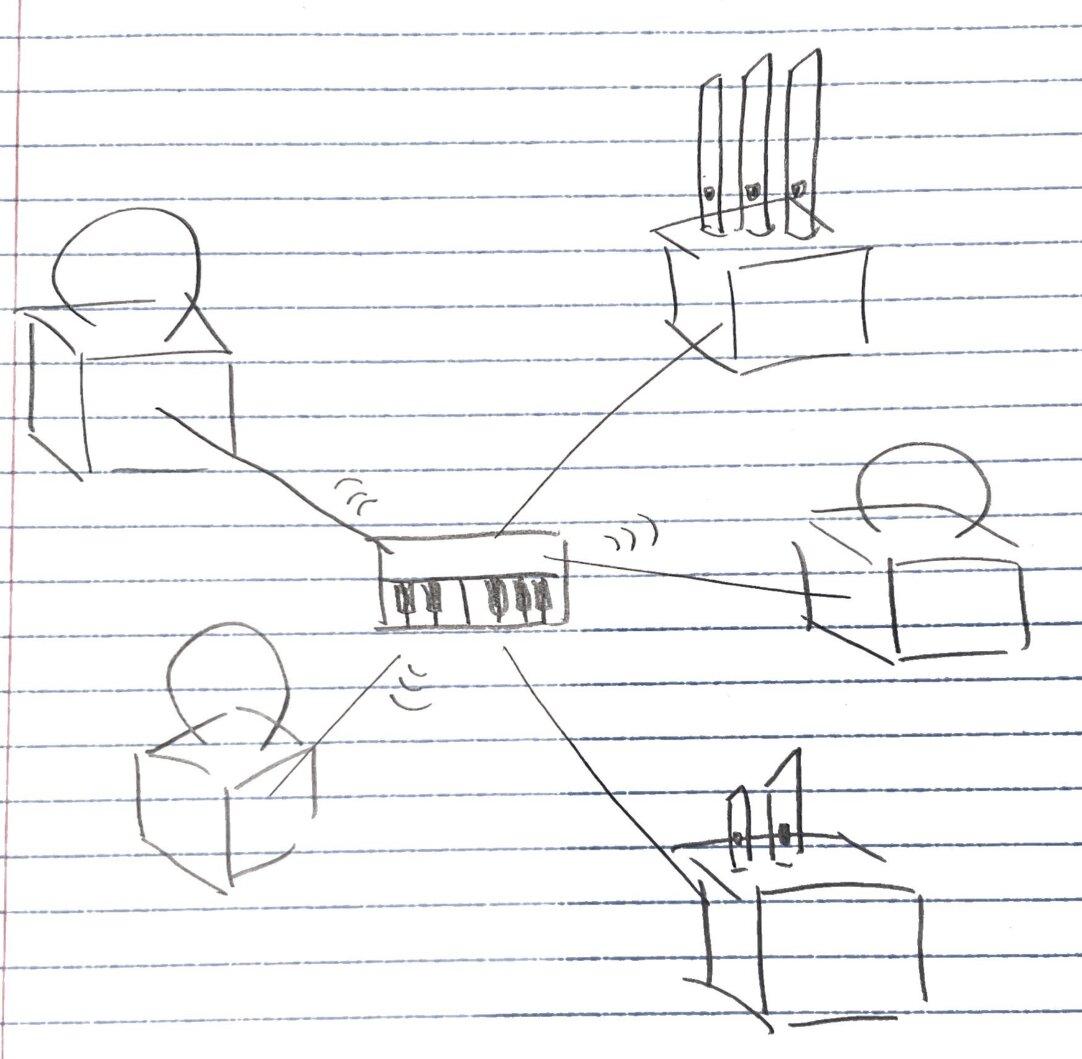
Having learned so much in the last few weeks I started thinking more concretely about what the "organ" might looks like. I think it would be really cool for it to be networked and modular, so that each "pipe" or note can be moved independently, but still controlled by a central system.
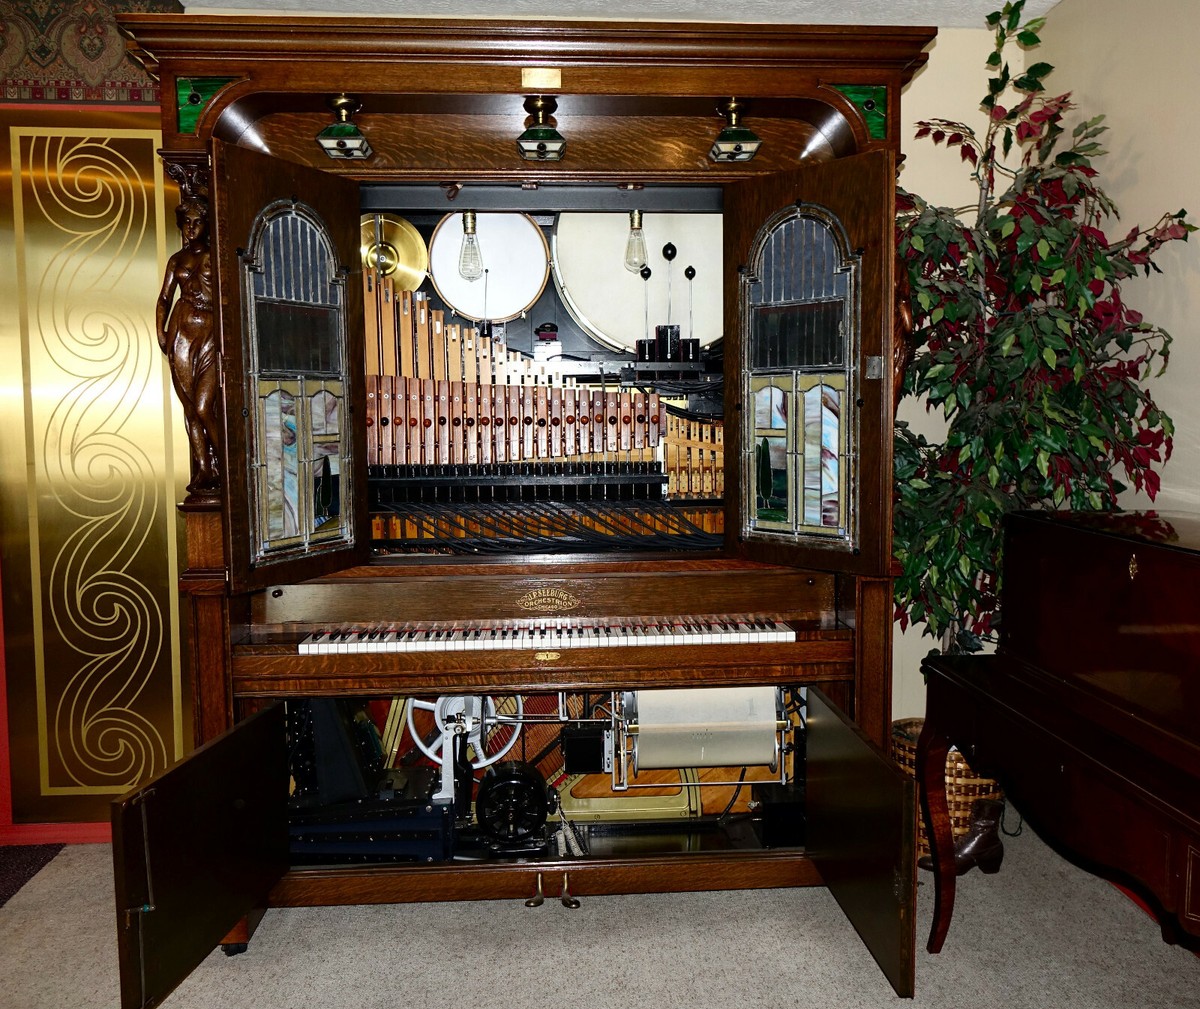
Some of the sounding parts would still be using the original idea of using harmonica reeds, but I think it would be nice to have the option to use other timbres as well. I think my whistle designs could be incorporated incorporated to other "modules" of the organ. In this sense, it might be interesting to aim to make something more like an orchestrion or American Fotoplayer, a mechanical instrument capable of producing a wide range of sounds.
In week 4, I designed two small PCBs for my final project. One is the "manager" board, which will be used to send MIDI commands to the different "organs." The other is the "receiver" board, which will be used to receive MIDI commands from the manager and to control the inflation of different "organs."
The manager board is a simple board with a few buttons and an RGB LED. It will be powered by a 3.3V battery and will be connected to the receiver board via a USB-C cable. The receiver board is a bit more complex. It will need to receive MIDI commands from the manager board and to control the inflation of different "organs." It will also need to be powered by a 12V battery and will be connected to the manager board via a USB-C cable.
The manager board schematic is shown below.
