Week 3 — Embedded Programming
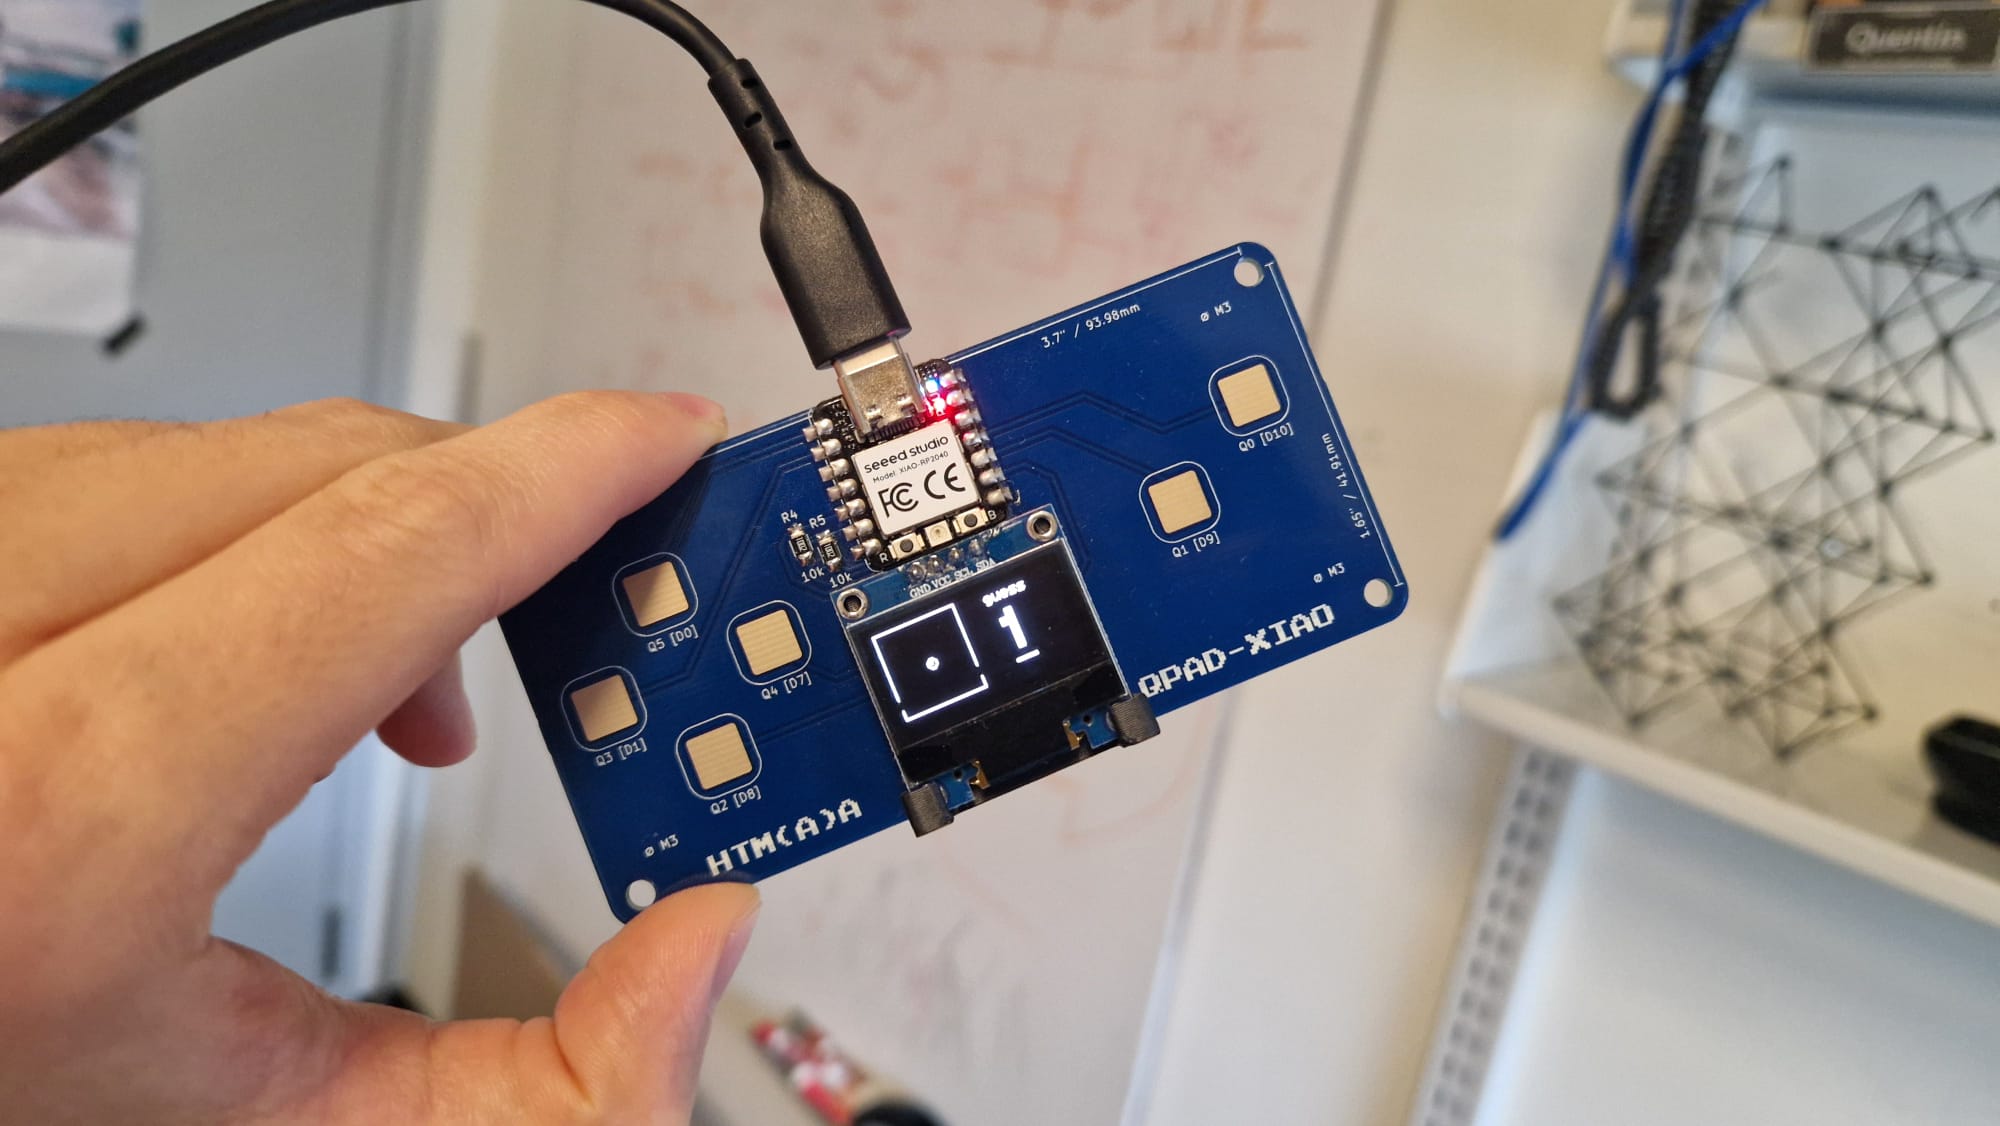
This week, I trained, quantized, and deployed a simple neural-netowork on the RP2040 microcontroller (MCU). The user can draw a numeral using the XIAO Qpad and the MCU runs the inference in real time—predicting what the user drew.
Introduction
The goal for this project is to deploy a neural network on a microcontroller and learn more about quantization techniques. In the How to Make course, we received a board with an Xiao RP2040 board, an OLED display, and capacitive touchpads for user input. I want the user to draw a numeral on the display, which will then feed into the neural network running on the microcontroller, displaying the guessed numeral.
Training the Model
First, I downloaded the MNIST dataset and converted it to black and white; this was to match the way the numerals will be drawn on the display (only in black and white). Below is the comparison of the original and the modified datasets.

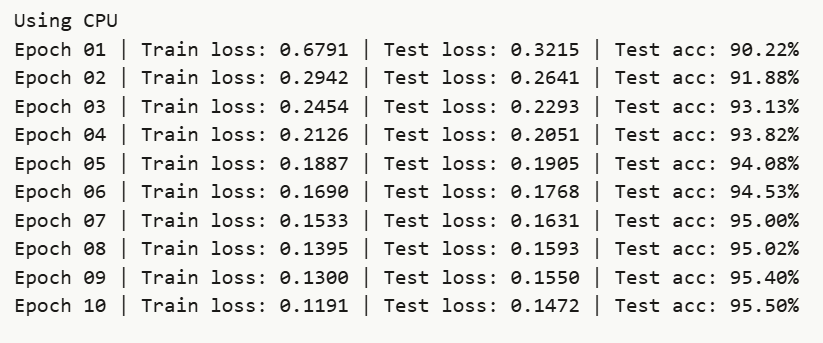
The architecture of the neural network was quite simple: a multilayer perceptron with two hidden layers. The input in this case is 28x28 pixels, the same as the image size in the MNIST dataset, which is passed through a flattening layer with \(28\cdot 28 = 784\) outputs. Next is a 32-neuron hidden layer, followed by the ReLU activation function. The second hidden layer has only 16 neurons followed by ReLU. The final layer takes the 16 inputs and computes the logits. I ran the training loop with a batch size of 128 over 10 epochs, achieving roughly 95% test accuracy.
The next step was the quantization of the weights and biases. I am currently taking Professor Song Han's class in efficient machine learning, and our last class covered quantization. The simplest form is Symmetric Linear Quantization, which can be mathematically described as \(r=S(q-Z)\), where \(r\) is the real float value, \(S\) is the scalar term, \(q\) is the stored integer value, and \(Z\) is the zero point. Since we are using symmetric quantization, we set the zero point to \(Z=0\). Furthermore, we can find the scalar parameter in the following way: \(S=\frac{\left | r \right |_{\text{max}}}{2^{N-1}}\). We, however, won't do that. Since we quantize both the input and the weights, we have to divide by the \(S\) parameter. If we pick \(S=64\), a power of 2, we can use a bit shift to divide.
For more details, please look at the attached Jupyter notebook and the Python code, as they are extensively commented.
Tiny Section About Soldering
Even though there were only two SMD resistors, I still had to use hot air for the coolness factor. As my colleagues will tell you, please don't ask me to teach you soldering, as I will not be able to hold back (: (and maybe I'm a slight perfectionist)